Search

How to Compost Like a Pro

Now that you have learned how to compost like a genius, it’s time to get ‘down to earth’!

“It’s best to have your tools with you. If you don’t, you’re apt to find something you didn’t expect and get discouraged.” – Stephen King

Having the right tools can make composting that much more enjoyable. Composting can look different for everyone. The process can vary depending on where you live; composting in a city apartment will be quite different than composting on a farm property. Either way, it’s usually doable.

Industrial Composting
Industrial Composting
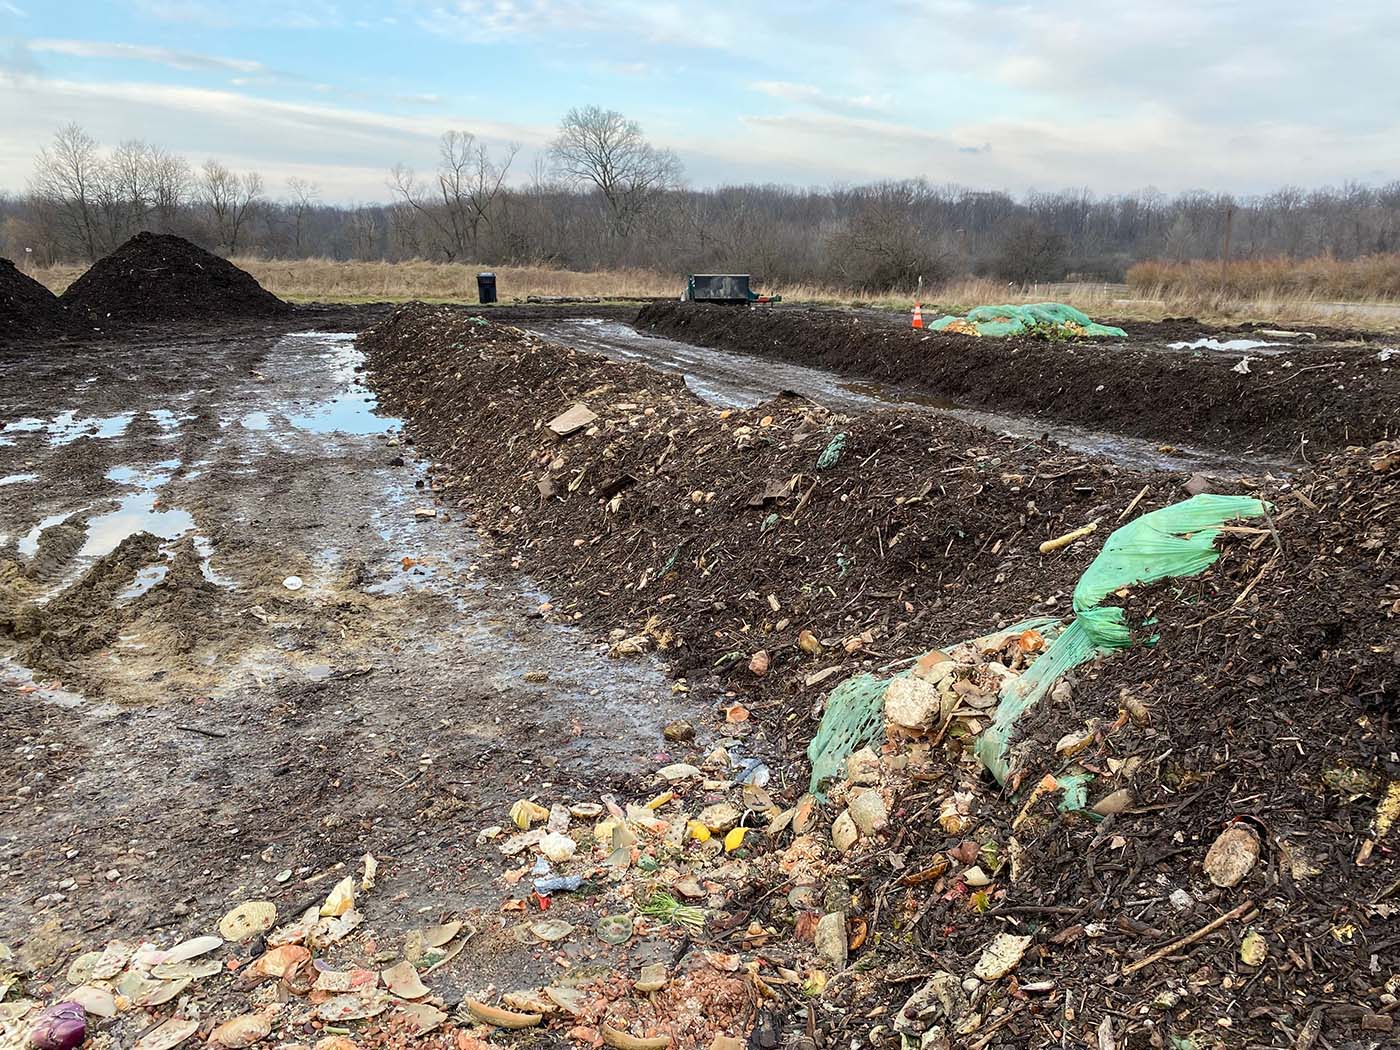
While some store-bought items such as plastic bags, wipes, diapers, and cutlery may be labelled as “compostable” always ensure that these products are safe for home composting. if not, they might need to be put into an industrial composting bin. Industrial / commercial composting is done on a much larger scale, allowing for the decomposition of materials that municipal or home compost piles would usually have difficulty with because they are not continuously controlled or managed. Waste piles are carefully monitored and managed using one of 3 methods:
  • In-vessel: Refers to a drum or silo filled with any organic waste, food scraps, biosolids, or compostable-certified plastics. This method produces minimal odours and allows for optimal temperature, moisture, and airflow control.
  • Windrows: Organic matter / waste is placed into long rows of waste and is then aerated mechanically. This method improves oxygen content and level of porosity. It also improves the ability to retain water, mix in or remove excess moisture, and evens out the temperature of the pile.
  • Aerated static pile: piles of food waste and paper scraps are layered with paper or wood chips to allow airflow while a network of pipes moves air through each pile. Since there is no manual aeration, such as turning, this type of composting needs to be carefully monitored.
Some cities offer “green bin” compost pickup along with regular trash and recycling pickup, but you should always check for a list of items that are accepted in these containers. If your municipality doesn’t offer composting, there may be a farmer’s market, community garden, or other facilities in your neighborhood that would love to take your food scraps. Check with your local municipality to see if commercial composting is available in your area, collection bins can be distributed to homes and businesses to gather organic waste and turn it into something great!

Backyard Composting

Backyard Composting
When we tell you how easy it is to compost at home, you’ll wonder why you didn’t start sooner. There is no single way to compost in your backyard. Many enjoy using a tumbler for easy aeration, and many build their own compost bin with welded wire, chicken wire, cinder blocks, wooden planks, or even wooden pallets. You need to consider the best place to put your compost heap; you want to make sure it’s not too close to your neighbour’s fence line, and not directly in the sun or shade. The ideal place is often in a corner of your garden or backyard.

Here’s what you can do:

  1. Find the perfect location for your compost pile. Once you choose your location, you will not want to change it, so choose wisely.
  2. Use chicken wire or welded wire to set a perimeter around your pile (this will keep your pile contained while providing aeration, and keeping rodents out)
  3. Start your pile on bare earth.
  4. Lay 4 inches of browns down on the earth. This will help with drainage and aeration.
  5. Start adding food scraps, alternating between greens and browns. Remember that browns break down much slower than greens.
  6. OPTIONAL – add manure.
  7. Cover with a layer of browns.
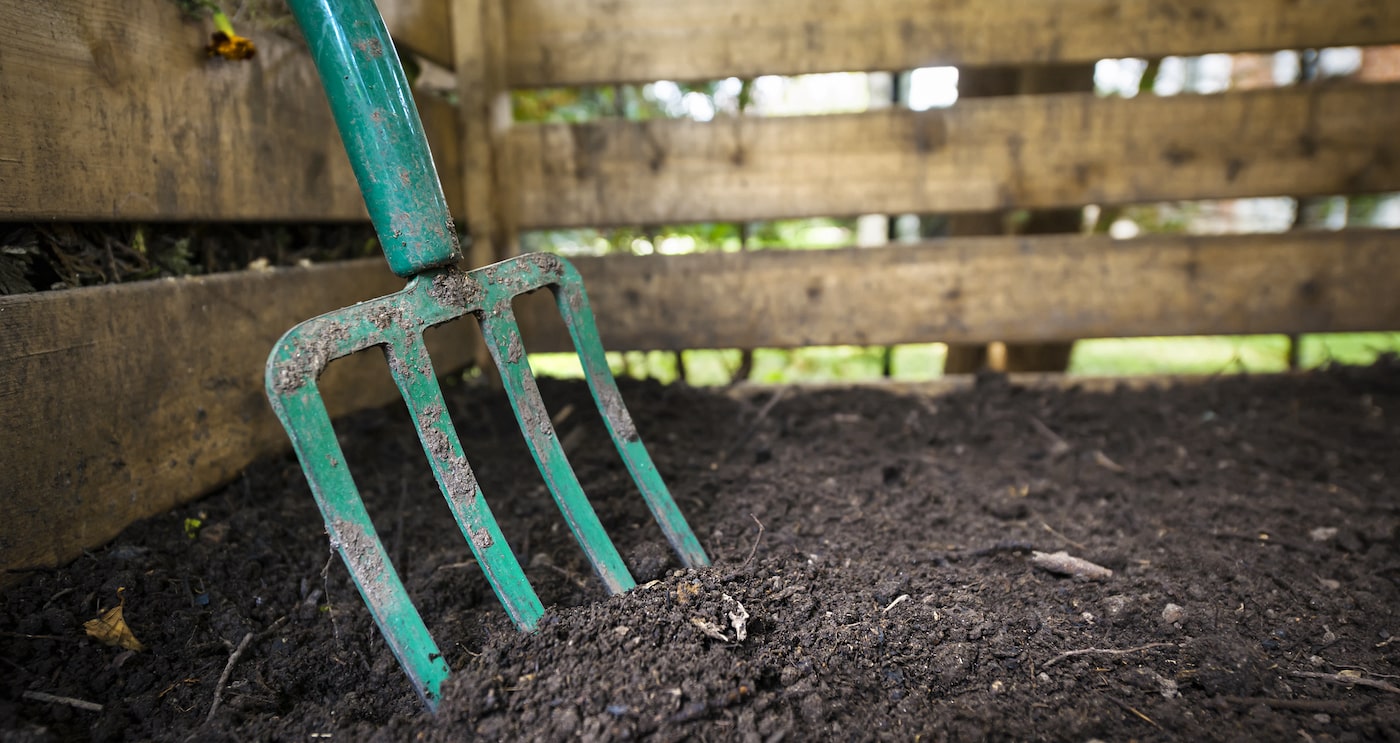
  8. Turn the pile with a shovel or pitchfork every few weeks. AERATION IS KEY.

Indoor Composting

If you live in a condo or an apartment, if your lawn space is not ideal for composting, or if you’re just looking for ways to manage food waste, then indoor composting checks all the boxes. Since you can store a compost bin in almost any dry space indoors (Such as a corner in the kitchen, under the sink, or on the counter), repurposing food scraps can be easy. The greatest advantage of indoor composting is the consistent warm temperature – you don’t have the struggle of fighting cold weather, rain, or extreme heat, all of which can have adverse effects on your pile.

There are 2 main ways to start composting indoors, aerobic composting and vermicomposting:

AEROBIC COMPOSTING:
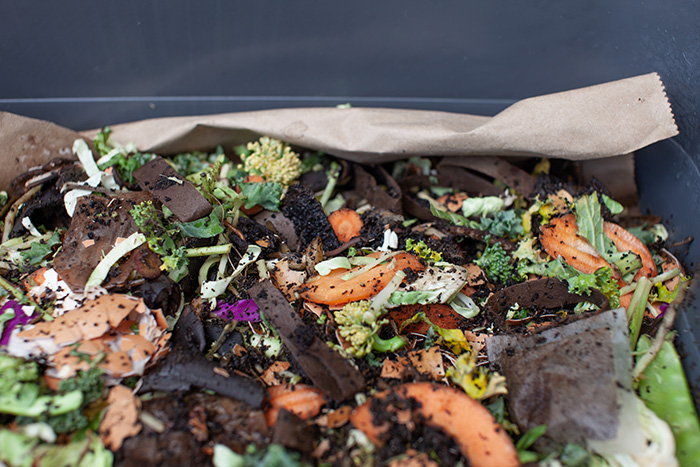
Aerobic composting uses our microbial friends found in garden soil to convert food waste and other organic material into compost. If you don’t have a garden, your homemade compost can be used to fertilize houseplants, lawns, bushes, flowers; or shared with a neighbour or friend with a garden… trade compost for cucumbers?

How it works: While microorganisms break down the matter, they release nitrogen, phosphorus, and potassium to create a rich compost. A crucial step, as the name of this process suggests, is supplying continuous aeration to the bin. Once a week, turn the contents of your bin over with a wooden spoon to introduce oxygen to the mix. The entire process can take anywhere from two to four months until your compost is ready to use. When your compost is ready to make it’s way into the world, it’s time to start the process all over again. And now that you’re a natural, it’s totally normal to be excited about composting.
Aerobic Composting
Want to make a DIY aerobic composter? Here’s what you’ll need:
  • 5 to 6-gallon bucket with a plastic lid
  • Drill and large drill bit. OPTIONAL: Screen material, small enough to keep fruit flies out. Shredded newspaper or cardboard.
  • Garden soil
STEP 1: Drill 8 to 10 holes in the plastic lid for aeration. You’ll want to drill an even number of holes to let oxygen in, without compromising the integrity of the lid.STEP 2: If you choose to use a mesh or screen material, cover the inside of the lid with the material and attach with glue.STEP 3: Use the shredded paper or cardboard to line the inside of the bucket – you’ll want to use a few inches.STEP 4: Add a few inches of garden soil.STEP 5: There is no Step 5, that’s how easy it is. You’re ready to start composting in your own kitchen and contributing to the circle of life. Hakuna Matata.IMPORTANT TO NOTE: For each inch of food waste, add two inches of paper towel, soiled napkins, shredded newspaper, or cardboard. Greens and browns make the world go round, but you already know that, you genius.
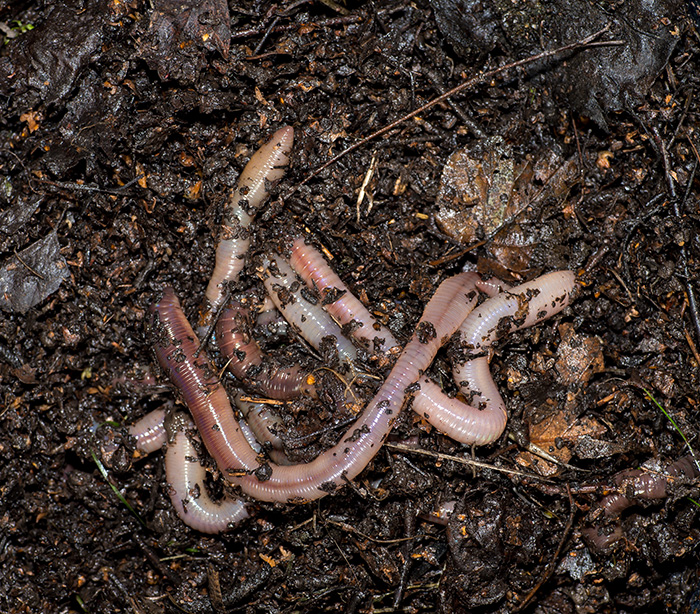
VERMICOMPOSTING Vermicomposting uses worms to turn kitchen scraps and other food waste into a rich, dark, earthy soil. The process is highly effective, and the result consists of worm castings (AKA worm poop) and decayed organic matter, which helps soil retain water and guard against soil-borne diseases.How it works: In this process, worms swallow the waste and bedding in the compost bin, absorb the nutrients, then excrete the castings and partially decomposed material to create vermicompost. You never have to manually turn the compost since the worms naturally aerate the compost as they tunnel through it. In roughly three to four months, the worms should eat through the original bedding and waste, and it will be replaced by. You can push this compost to one side of the bin and then add new bedding and soil to the empty side. As you bury fresh kitchen waste into the new soil, the worms will move to the area of the bin that needs to be composted. Your worm bin is like your new pet, care for it, and in turn, it will love you back.
Worms
Worms are your friends, here’s what you’ll need:
  • Drill with 3/16- and 1/8-inch drill bits
  • 3 plastic buckets (5-gallon size is best)
  • 1 bucket lid
  • Garden soil
  • Shredded newspaper or cardboard
  • 250 to 500 red wiggler* composting worms
*Red wiggler worms are the OGs of composting. They are resilient and tolerant of a wider range of temperatures in comparison to other species. These squirmy guys produce and reproduce very quickly, and they provide a larger volume of digestive waste than standard earthworms.
STEP 1: Drill 16 holes (4 x 4) in 2 of the plastic buckets’ bottoms, leave the third one without holes.STEP 2: In the buckets with holes, drill a few more around the circumference at the top of the bucket. These holes provide the necessary aeration.STEP 3: Drill holes through the top lid, set aside.STEP 4: ASSEMBLE; place one of the holey-bottom bins inside of the one the without holes. Add 3 to 4 inches of damp shredded newspaper or cardboard to this bucket, add soil, then your worms, and lastly your food scraps. Cover with the lid that has holes.STEP 5: There is no Step 5 – let your worms do the dirty work.IMPORTANT TO NOTE: It is not recommended to compost meats in your bin. While these worms would probably enjoy Grandma’s chicken dinner, they would not be able to digest it in a timely manner before pathogens become present.

Compost vs Fertilizer

Maybe you’re at that point where the F-word starts to creep into your mind, so let’s talk about it: Fertilizer. What’s the benefit of composting over just using store-bought fertilizer?

  1. Although fertilizer can be beneficial for treating specific soil nutrient deficiencies, it does not provide the same flow of nutrients as compost. Fertilizer can overload soil with nutrients instead of the consistent, gradual stream that comes from your powerful compost.
  2. Some chemicals found in fertilizer can ruin soil’s symbiotic relationship with microbes… and you don’t want to be a homewrecker.
  3. Overuse of fertilizer can cause the chemicals found in it to harm the surrounding environment, and they can also work their way into nearby bodies of water.
  4. An added cost to growing your garden, rather than the scraps you already have from your kitchen

How can I tell if my compost has gone wrong?
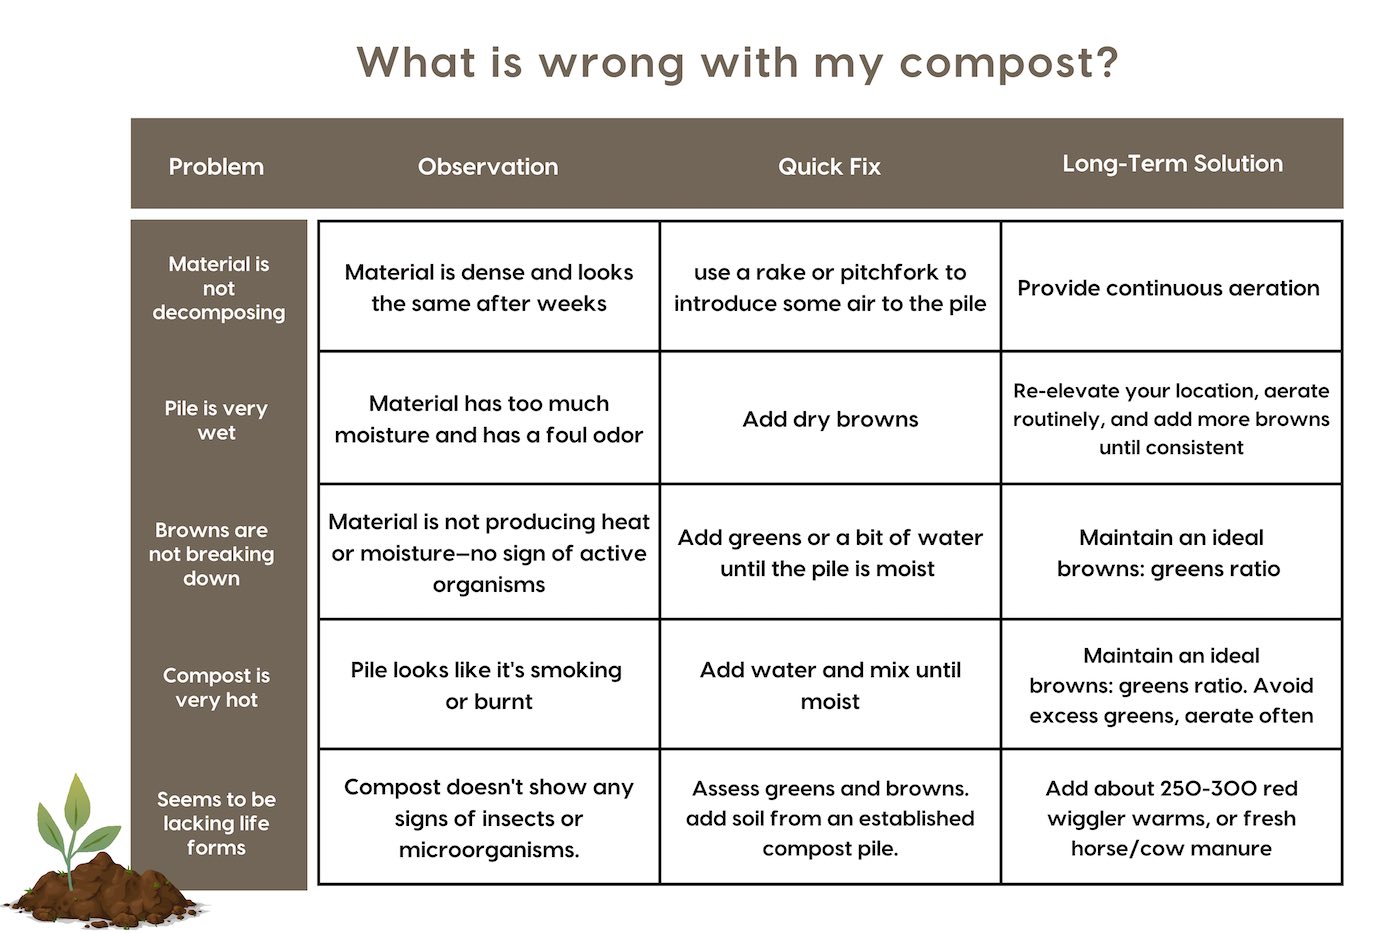
Given the title of this blog and that you are an assumed genius, the chances of your compost going wrong is low… but just in case you are feeling dubious about how things are going, here are the signs you can look for:
What is wrong with my compost?
Composting can seem like a commitment, but it’s one worth making. One person’s food waste is another person’s black gold, and your garden will thank you for it. You’re now equipped with the knowledge you’ll need to take your gardening to the next level. You’ve got this, we believe in you. Happy gardening!